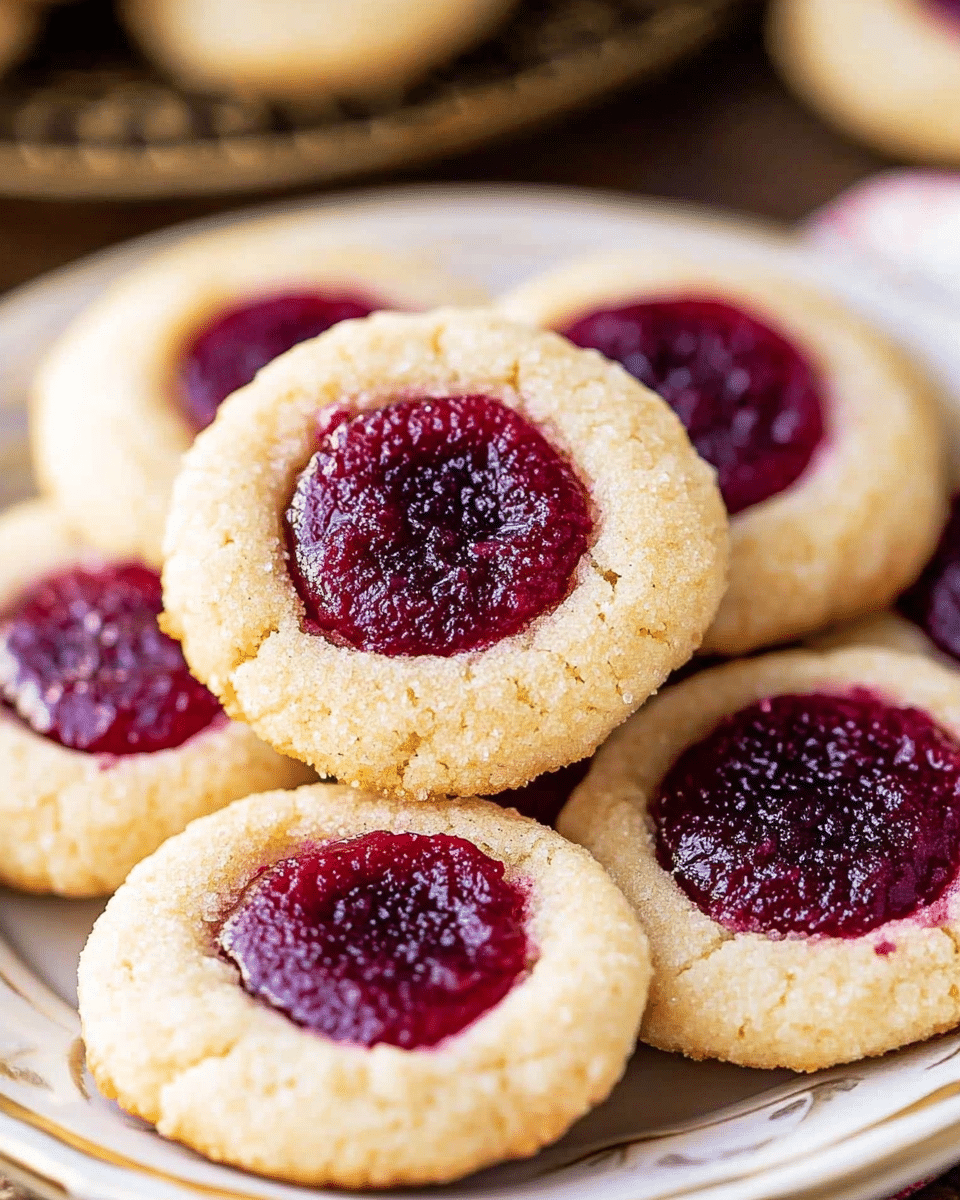
These classic thumbprint cookies are buttery, tender, and filled with your favorite jam or preserves. With a soft, melt-in-your-mouth texture and a pop of fruity flavor, they’re a nostalgic treat perfect for holidays, cookie swaps, or everyday indulgence.
Why You’ll Love This Recipe
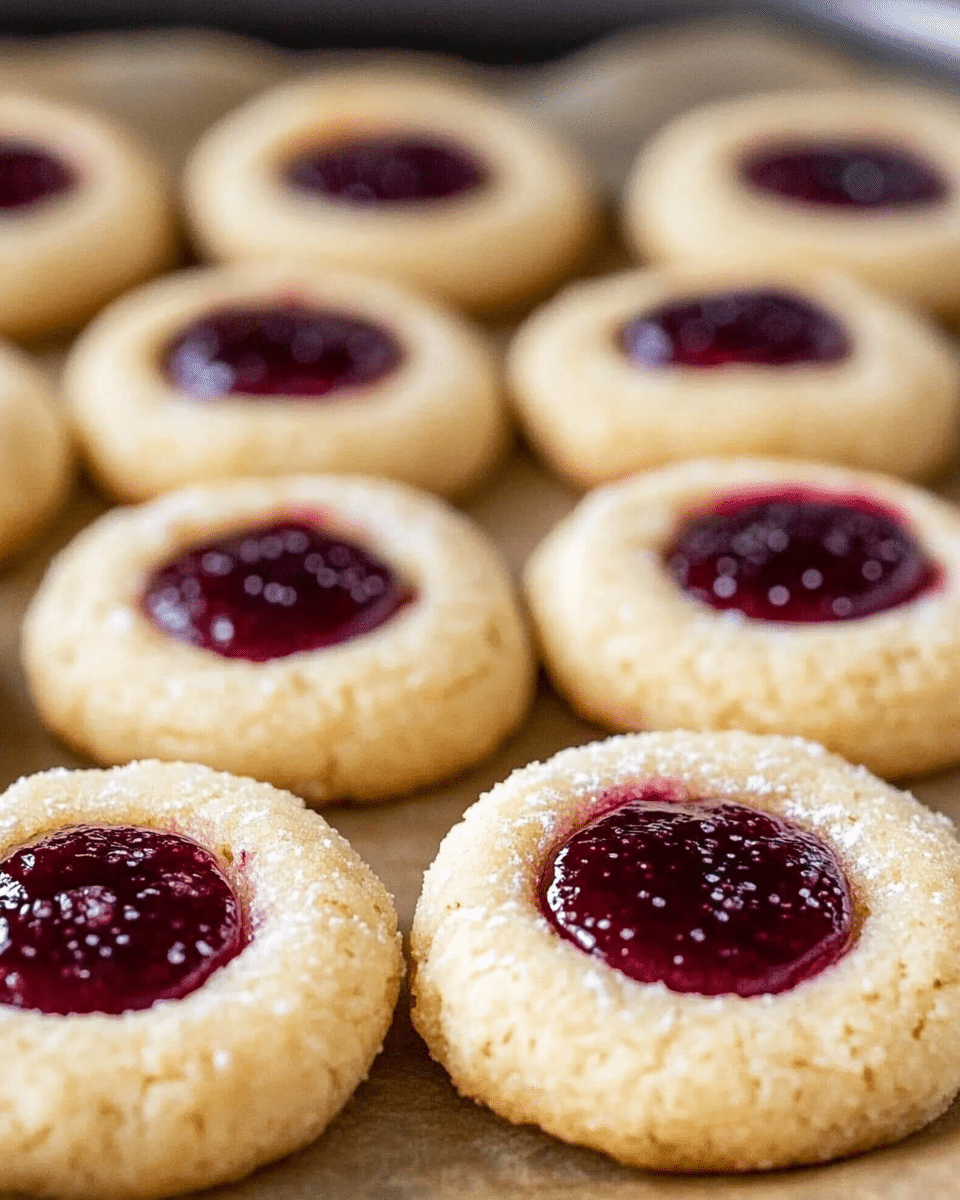
These thumbprint cookies strike the perfect balance between simple ingredients and delightful flavor. The dough is soft yet structured, making it easy to work with, and the final result is a beautiful, bakery-style cookie with a signature jam center. You can use any jam flavor you love—raspberry, apricot, strawberry, or even lemon curd—for a personalized twist. Plus, they freeze well and hold their shape, making them ideal for gifting or prepping ahead.
Ingredients
(Tip: You’ll find the full list of ingredients and measurements in the recipe card below.)
-
1 cup unsalted butter, softened to room temperature
-
⅓ cup granulated sugar
-
⅓ cup light brown sugar, tightly packed
-
1 large egg yolk
-
¾ teaspoon vanilla extract
-
2¼ cups all-purpose flour
-
2 teaspoons cornstarch
-
½ teaspoon salt
-
½ cup sugar, for rolling (optional)
-
⅓ cup jam or preserves, flavor of your choice (raspberry, strawberry, etc.)
Directions
-
In a stand mixer (or using a hand mixer and large bowl), beat the butter until creamy.
-
Scrape down the sides, then add granulated and brown sugar. Beat until well combined, about 30–60 seconds.
-
Add the egg yolk and vanilla extract. Beat until fully incorporated.
-
In a separate bowl, whisk together the flour, cornstarch, and salt.
-
With the mixer on low speed, gradually add the dry ingredients to the wet mixture. The dough will seem crumbly but should come together—use your hands if needed to finish mixing.
-
Scoop out tablespoon-sized amounts of dough and roll into smooth balls, ensuring there are no cracks or seams.
-
Roll each dough ball in granulated sugar (optional) and place on a wax-paper-lined tray or baking sheet.
-
Use your thumb or the back of a teaspoon to gently press an indent into the center of each ball.
-
Transfer the tray to the freezer and chill for 30 minutes.
-
Preheat the oven to 375°F (190°C).
-
Microwave the jam briefly (5–10 seconds) to loosen it up for easy spooning.
-
Fill each thumbprint with jam, just to the brim.
-
Place the cookies at least 2 inches apart on a parchment-lined baking sheet.
-
Bake for 11 minutes, or until the edges are just turning golden.
-
Allow cookies to cool completely on the baking sheet before serving or storing.
Servings and timing
Servings: 24 cookies
Prep time: 20 minutes
Cook time: 11 minutes
Chilling time: 30 minutes
Total time: 1 hour 1 minute
Calories per cookie: Approximately 165 kcal
Variations
-
Flavorful Fillings: Use lemon curd, apricot jam, Nutella, or even caramel for a unique twist.
-
Spiced Dough: Add a touch of cinnamon or nutmeg to the dough for warm, cozy flavor.
-
Glaze Finish: Drizzle cooled cookies with a simple powdered sugar glaze for extra sweetness.
-
Nuts & Seeds: Roll dough balls in finely chopped nuts or sesame seeds before baking.
-
Chocolate Base: Add 2 tablespoons of cocoa powder to the dough for a chocolate version.
Storage/Reheating
Storage: Store cooled cookies in an airtight container at room temperature for up to 5 days.
Freezing: Freeze baked cookies in a single layer or separated by parchment in a container for up to 2 months. Thaw at room temperature before serving.
Reheating: These cookies are best served at room temperature. No reheating is necessary.
FAQs
Why is my dough so crumbly?
The dough is naturally dry, but it should hold together when pressed. If needed, knead it gently by hand to bring it together before shaping.
Can I use salted butter?
Yes, but reduce or omit the added salt to avoid an overly salty cookie.
What type of jam works best?
Any thick jam or preserve will work. Avoid overly watery jams as they may spread too much during baking.
Can I make the dough ahead of time?
Yes, you can chill the dough (shaped or unshaped) for up to 2 days in the refrigerator before baking.
How do I keep my thumbprints from cracking?
Roll the dough balls smoothly without seams or rough edges, and press gently when creating the indent.
Do I have to chill the dough?
Yes, chilling helps the cookies keep their shape during baking and enhances the texture.
Can I fill the cookies after baking?
It’s best to fill them before baking so the jam sets and bakes into the center. Post-bake filling is possible, but less secure.
How do I make them more festive?
Use different jam colors or dust cooled cookies with powdered sugar for a holiday touch.
Can I make this recipe gluten-free?
Yes, substitute with a 1:1 gluten-free flour blend, but be aware the texture may be slightly different.
Why did my jam bubble over?
Overfilling can cause bubbling. Fill just to the rim of the indent to prevent overflow.
Conclusion
These classic thumbprint cookies are simple, delicious, and endlessly customizable. Whether you’re baking them for the holidays or just for a sweet afternoon treat, their rich buttery base and fruity centers are sure to win hearts. With easy-to-follow steps and adaptable ingredients, this recipe is one you’ll come back to again and again.
Print
Thumbprint Cookies
- Prep Time: 20 minutes
- Cook Time: 11 minutes
- Total Time: 1 hour 1 minute
- Yield: 24 cookies
- Category: Dessert
- Method: Bake
- Cuisine: American
- Diet: Vegetarian
Description
A simple and classic recipe for buttery thumbprint cookies filled with sweet jam. These cookies have a soft, tender texture and are perfect for holiday baking or anytime you need a sweet treat.
Ingredients
- 1 cup (226 g) unsalted butter, softened to room temperature
- ⅓ cup (70 g) sugar
- ⅓ cup (70 g) light brown sugar, tightly packed
- 1 large egg yolk
- ¾ teaspoon vanilla extract
- 2 ¼ cup (280 g) all-purpose flour
- 2 teaspoons cornstarch
- ½ teaspoon salt
- ½ cup sugar, for rolling (optional)
- ⅓ cup (105 g) jam or preserves, flavor of your choice (e.g., raspberry)
Instructions
- Place butter in a stand mixer or large bowl and beat until creamy.
- Scrape down the sides of the bowl, add granulated and brown sugars, and beat on medium-high until well combined (30–60 seconds).
- Add the egg yolk and vanilla extract, and beat well.
- In a separate bowl, whisk together the flour, cornstarch, and salt.
- With mixer on low, gradually add the dry ingredients to the wet ingredients until completely combined. The dough will be dry and crumbly—use hands if needed to bring it together.
- Scoop dough into 1-tablespoon sized balls and roll smooth to prevent cracks.
- Optional: Roll each dough ball in granulated sugar.
- Place on a wax-paper lined plate or small sheet pan and use your thumb or the back of a teaspoon to create a small indent in the center of each ball.
- Transfer the dough to the freezer and chill for 30 minutes.
- Preheat the oven to 375°F (190°C). Place jam in a microwave-safe bowl and warm slightly (5–10 seconds) to make it easier to stir.
- Spoon jam into each thumbprint, filling to the brim.
- Place cookies 2 inches apart on a parchment-lined baking sheet and bake for 11 minutes, or until edges are just starting to turn golden.
- Allow cookies to cool completely on the baking sheet before serving.
Notes
- Be sure to roll the dough balls well to prevent cracking during baking.
- Chilling the dough helps prevent spreading and keeps the thumbprints defined.
- You can use any jam flavor you like—raspberry, strawberry, apricot, or mixed berry are great options.
- Store in an airtight container at room temperature for up to 5 days.
Nutrition
- Serving Size: 1 cookie
- Calories: 165 kcal
- Sugar: 12 g
- Sodium: 53 mg
- Fat: 8 g
- Saturated Fat: 5 g
- Unsaturated Fat: 2 g
- Trans Fat: 1 g
- Carbohydrates: 22 g
- Fiber: 1 g
- Protein: 1 g
- Cholesterol: 28 mg

